How to Tape NG Tube: The Best Way on a Baby
I first learned how to tape an NG tube from pediatric cardiac nurses while we were inpatient after our daughter’s first open-heart surgery. Due to several factors related to her Congenital Heart Defects (CHD), she was reliant on an NG (nasogastric) tube for sustenance for her first 8 months. During that time, I tested, learned, and tackled how to tape an NG tube on a baby – the best way.
Typically I changed her tape twice a week, sometimes it would last longer, and other times I had to change it daily. All in all, I clocked too many tape changes to count. At the beginning of our tubie journey, I was so intimated by it all. Towards the end, however, I was a taping pro the nurses even asked for my best how to tape method.
Whether your baby needs an NG tube for the short or long term, whether you are just starting out or have been at this for a while, I hope I can share with you some tidbits to help you find a better NG tube taping approach for you and your baby.
No time to read right now? Pin it or email it to yourself for later!
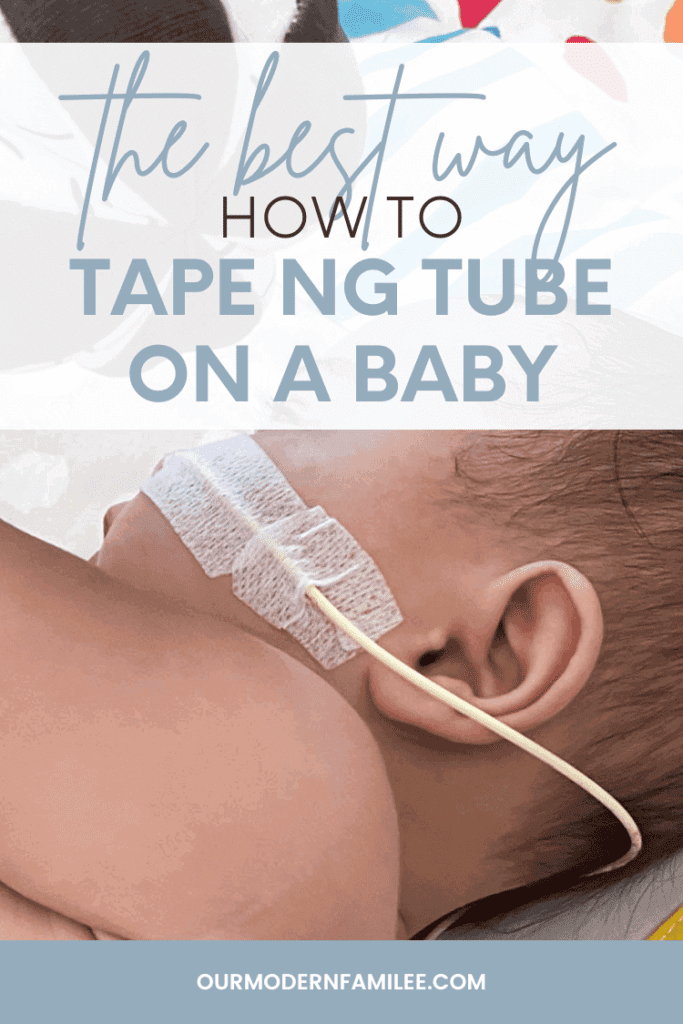
Why should you care about the tape job?
Please care, I urge you to care! It may seem like a minor detail, but I promise it’s not and is worth some extra consideration.
NG tubes are notorious for getting pulled out too easily. This is a major con, and sometimes reason enough people opt for a G-tube instead. Which is absolutely valid.
Changing an NG tube is not a pleasant experience for anyone involved. It can be traumatic and stressful for the baby and their parent or caregiver. All this is to mean, we want to minimize how many times the NG tube has to be changed. And one of the ways to reduce the pulls and changes is by a great tape job.
Securely taping your baby’s NG tube should minimize how frequently it gets pulled out and therefore reduce tube changes too. No tape job is fail-proof, but a better tape job can make a difference.
Another reason to put some extra time into taping your baby’s NG tube is to minimize trauma to their cheeks. Baby skin is generally very sensitive. An NG tubie baby will have tape on their cheeks regularly which can be very irritating to their skin. Figuring out the best taping method for your child can help minimize the changes and impact on their skin.
Is this really the “best way” to tape an NG tube?
Yes! It really is the best way to tape an NG tube on a baby…for my baby. Of course, there will never be an absolute, one-size-fits-all, best-for-every-baby approach. Nevertheless, I have significant experience in taping an NG tube on a baby and this is really what worked best.
We did tube feeding at home and were trained to replace her tube at home, so the majority of tape changes were done by me at home. Occasionally she has some tube and tape changes done in the hospital. And I tried a bunch of different taping styles and supplies. But nothing worked as well. I always came back to this “best way” and stand by this as my recommended approach.

Why is this the best way?
My daughter was fed via NG tube for her first 8 months of life. During this period, I tried several different taping methods and finally decided that this way is the best way.
This method lasted the longest before I would need to change to a new tape. It was also the most secure. It covered her cheek moderately minimally, compared to some other methods.
Her tube got stuck and pulled too many times and this tape method managed to hold it in place.
Where to get your NG tube taping supplies
NOTE: This is written from the perspective and experience within the United States healthcare system. Processes, details, and experiences may vary elsewhere.
You should be given all the supplies you need from insurance through your DME (durable medical equipment provider). Check with your DME before buying things yourself.
You can even try to request alternative taping supplies that they didn’t offer to you directly. I requested a couple of different supplies I didn’t previously have in my order – some they were able to fulfill, others they couldn’t. It doesn’t hurt to ask!
Unfortunately, it is not unheard of that a DME is unable to fulfill an order due to stocking issues. You may also develop preferences for alternative tube supplies that they do not offer.
If this is the case, you can try to find supplies from other tubie parents who are giving away or selling their excess supplies. You can find various tube feeding groups on Facebook. Or, you can look to purchase your preferred supplies yourself.
Many parents find additional feeding tube accessories, special supplies (e.g. cute tube tape), and other extras essential to managing their baby’s feeding journey with a feeding tube.
Supplies You’ll Need to Tape an NG Tube
Affiliate Disclosure: Our Modern Familee contains affiliate links and is a member of the Amazon Associates Program, we may earn commissions from qualifying purchases at no additional cost to you.
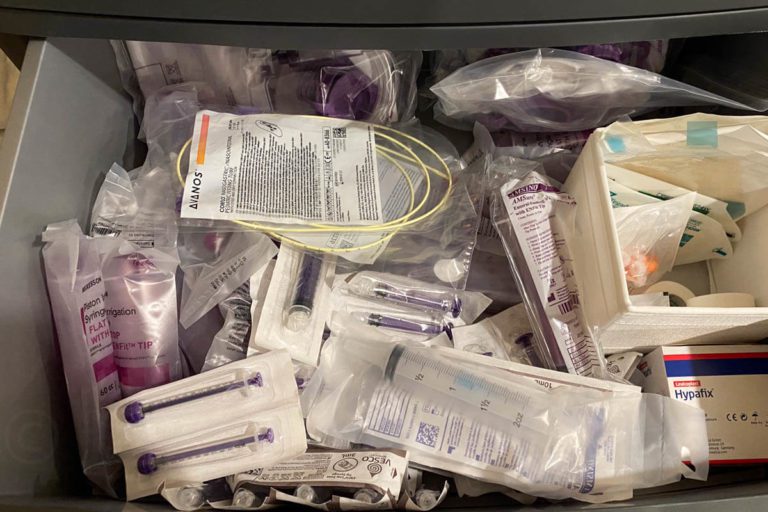
Once again, if you’re doing tube feeding at home your feeding tube supplies should be covered by health insurance and fulfilled through a DME.
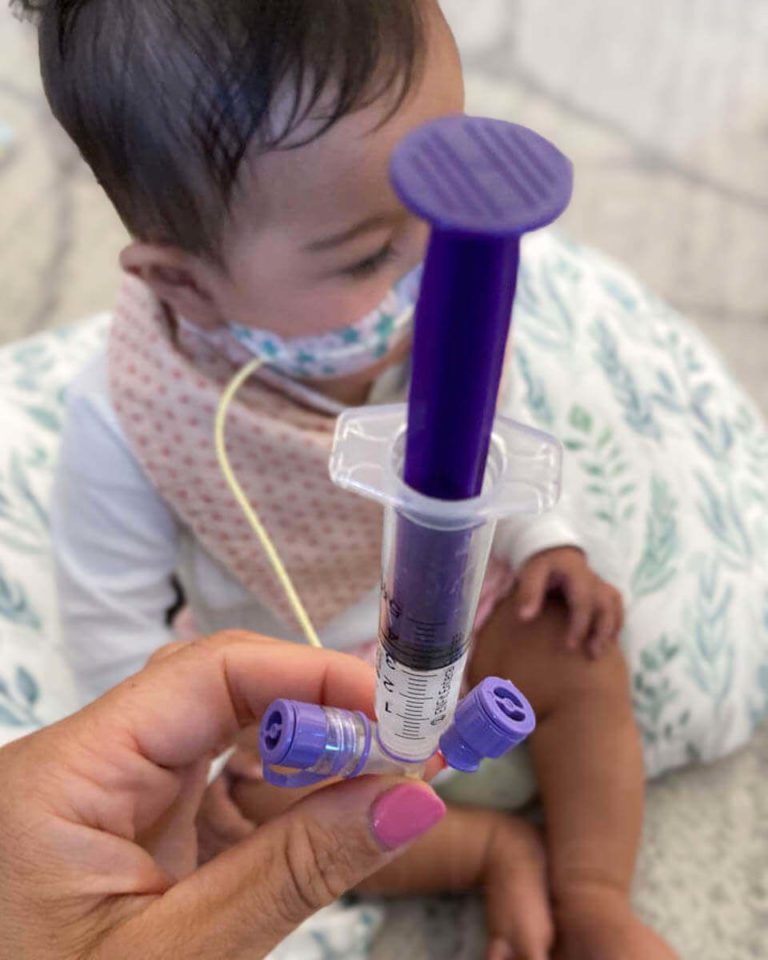
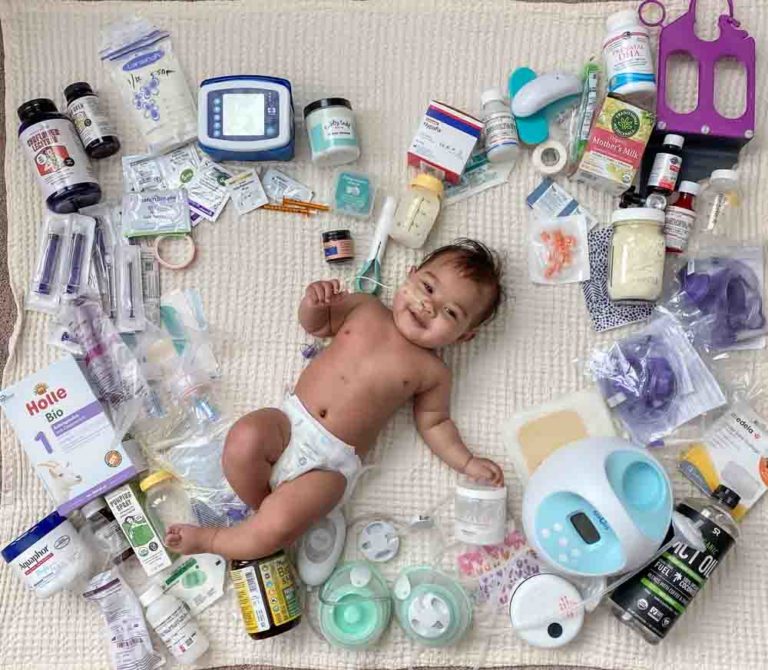
The following are my best-performing tube feeding supplies that helped me achieve the best way to tape an NG tube on a baby.
- Hand soap and hand sanitizer
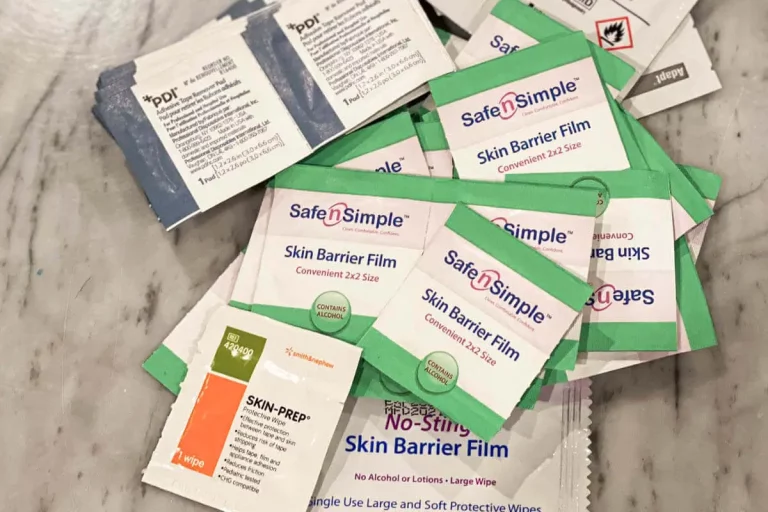
- Adhesive remover wipes
- Skin barrier wipes
- Medical scissors
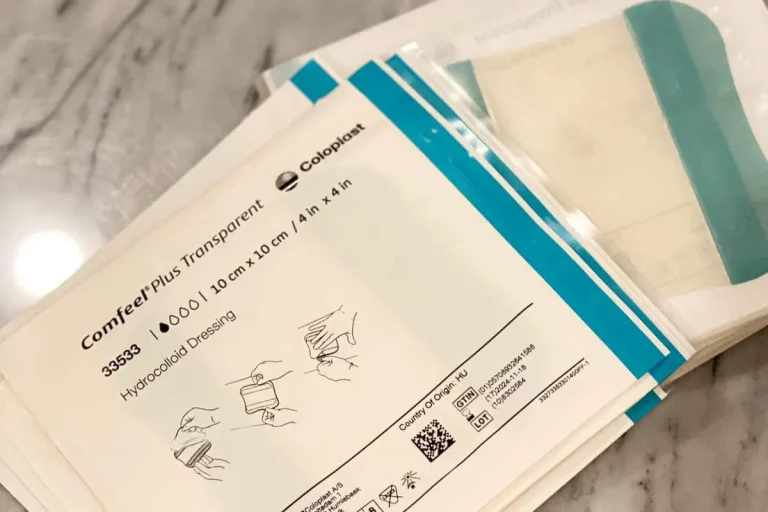
- Comfeel Plus
- Hypafix Tape
For some extra fun, this was my favorite go-to tape for my heart warrior tubie baby. It’s the same hypoallergenic Hypafix tape but with a cute heart pattern – pink and purple hearts, blue and green hearts. There are a bunch of small shops selling a wide variety of cute NG tube tapes.

Steps to Prepare to Tape NG Tube
1. Prepare the area where you will tape
Consider a safe space to place your baby for the tube tape change. Make sure they will be comfortable and also that you will have the proper space and access to change their tape.
Normally, I put my baby on a changing pad on the couch. And I pulled the coffee table next to it so I could have all my taping supplies within easy reach.
2. Wash your hands
Clean and dry your hands thoroughly before handling the medical supplies.
3. Prepare your taping supplies
Gather all your supplies. Get adhesive remover wipes, skin barrier wipes, medical tape scissors, barrier dressing, and your top medical tape to secure the tube.
Open the wipe packages now. Leave the wipe in its package, but ripe off the top so it’s easier to access when you’re ready to use it.
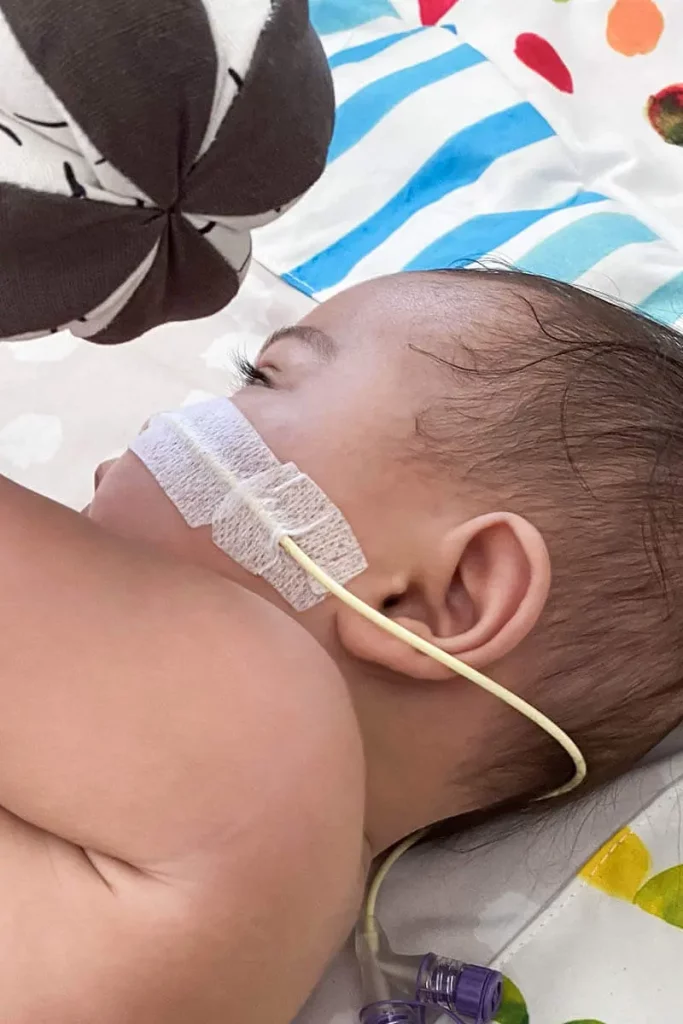
Cut your tapes to your baby’s size and preferred shape. For the Comfeel Plus, a simple rectangle should work. Approximately 1” high and from your baby’s side of their nose to their ear, half of that length for the width.
For the Hypafix, cut a rectangular piece with slightly rounded sides. It should be slightly higher than the Comfeel Plus, about 1.25-1.5” and about 2/3 – 3/4 the length of your baby’s side-of-nose-to-ear measurement.
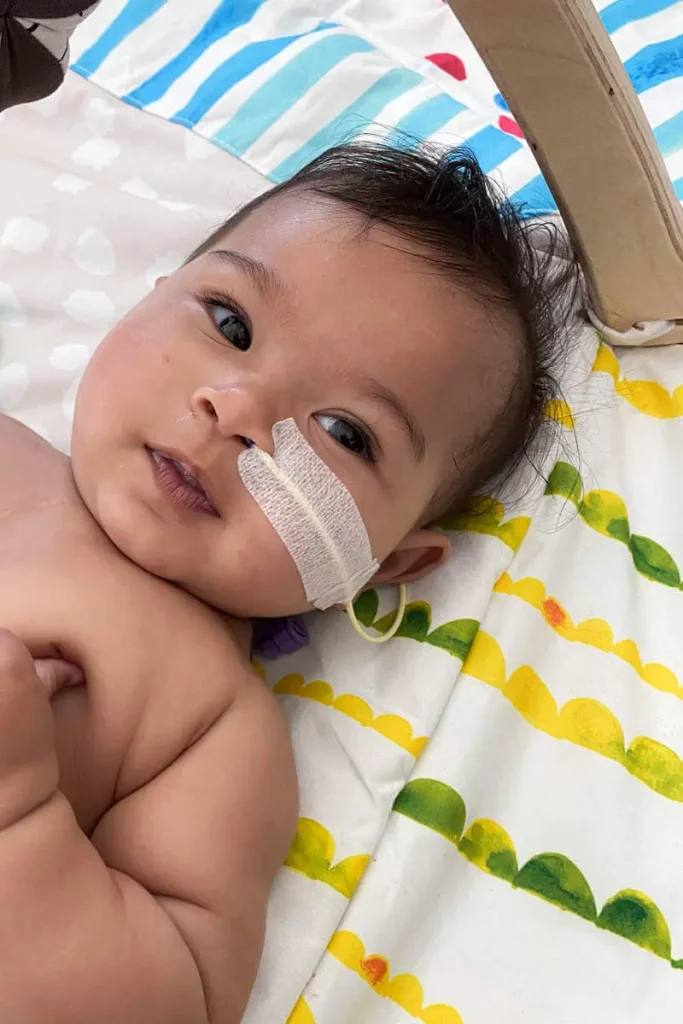
On whichever side you will adhere to the nose, cut a notch. Exactly how this looks will vary slightly depending on your baby’s nose shape and size. You want the top part to rest on top of the nostril. The open gap notch then goes around the exterior bump of the nostril and holds the tube just outside the nostril. Then the bottom part of the tape piece wraps over the tube and goes slightly below the nostril opening. This notch is key to this taping method and important for getting a perfectly secure hold.
Now cut a second piece of Hypafix, I call this the flex piece. It should be the same height but probably 1/3 the length of your first piece. Again, slightly rounded sides work great. This piece will be placed immediately after the first piece. Keep the side that will be closer to the nose as is. On the other side, the side that will go closest to their ear cut a straight slit from the middle of the side in toward the middle of the piece of tape.
Remember when you change sides for your baby’s NG tube, you also have to adjust which side of the tape to cut the notches and slits in.
4. Place baby in position
Put your baby down flat on their back. Swaddling them can help minimize the chance of their hands grabbing or interfering, and for some, it may soothe them a little.
5. Sanitize your hands
Didn’t I already? Yes, and this may depend on your baby’s circumstances. Never had I ever been a germaphobe, but my daughter was critically ill and in an extremely fragile state for her first several months of life. So we had extra precautions in place.
How to Tape NG Tube: A Step-by-Step Guide
1. Remove existing tape
Use adhesive remover wipes to remove the existing tape. Fully soak the tape on the cheek, use multiple wipes if necessary. This will allow the tape to pull away easier which should help minimize trauma and rash to the skin. Having to really tug the tape can cause redness and irritation.
Don’t forget to hold the NG tube in place, so it doesn’t change position or get pulled out, as you remove the existing tape.
2. Wipe the cheek
Use a skin barrier wipe and wipe the cheek in the area where the new tape will be placed. Let it dry fully before proceeding.
If there is any current skin rash, make sure to use no-sting, alcohol-free, wipes to not further irritate the skin.
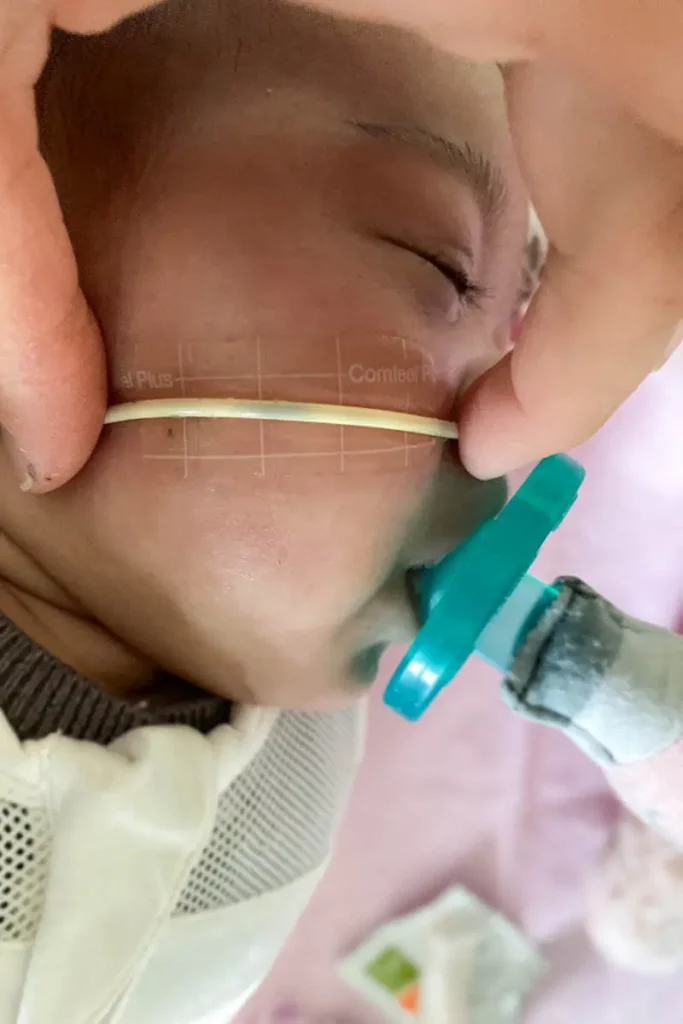
3. Place Comfeel Plus Barrier Dressing
Remove the dressing’s adhesive backing, and place the Comfeel Plus on the cheek. This acts as a barrier for the skin to try to minimize discomfort and irritation against the tube and the top tape. It should be centered on the cheek, in the middle of where the tube and top tape will go.
Since the Comfeel Plus is covered by another tape, I didn’t always find it necessary to replace this barrier dressing. Usually, I replaced the Comfeel Plus once per week.
4. Check NG tube placement
Double-check the placement of the NG tube to confirm it’s correct. Adjust it if necessary. Hold the tube down in place, over the barrier dressing.
5. Secure the NG Tube with Hypafix Tape
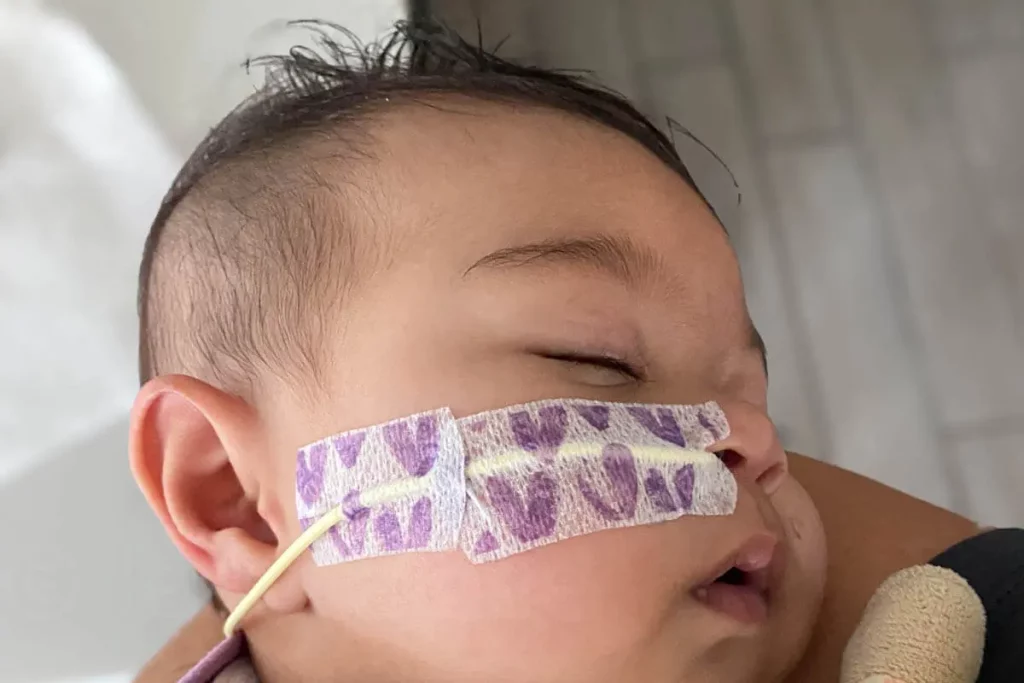
Remove the backing of the notched section of the Hypafix tape, but keep the rest of the backing intact. Adhere the notched section as close to the nostril as possible. Rub it gently to secure it – heat further activates the adhesive.
Once the nose section is secure, remove the rest of the backing paper. Lay the tape over the cheek (try your best to keep it flat and even, with no bunching) with the NG tube under it in the middle to secure the tube. Again, rub it a bit to make it really stick.
Getting the tape around and as close to the nostril as possible is a critical step. You don’t want there to be a gap between their nostril, the NG tube, and the tape. If there is a gap, then they will get their tiny fingers in there and you’d be surprised how quickly they can pull the tube out.

6. Add a flex piece of tape
Remove the backing of the extra flex piece of tape. Hold the remaining tube in place, and place the intact side of the tape piece down, this should meet the existing larger piece of tape already on their cheek.
Next, hold the tube out a little bit, and place one side of the split end down, and then the other side. The tube now should be covered by half of this flex piece of tape, and then at the end (closest to their ear) the tube should be on top of the tape.
Sometimes I left off this flex piece and then I would regret it. It makes a difference! It allows the tube to move with normal motion, and stay secure. Without it, the main piece of tape pulls away more quickly.
Top NG Tube Taping Tips
- Get your supplies ready before you begin.
- If you’re new here, cut multiple pieces of tape in case you mess one up, this way you’ll have another ready to go.
- Get that tape as close to the nose as possible!!
- After placing it on the cheek, don’t forget to rub the Hypafix tape!
- Experiment and evolve your taping method to find your personal best way for your baby.
Final thoughts
Taping an NG tube to a baby’s cheek is not difficult. However, how to tape an NG tube the best way can take some special attention and experimentation to get it just right.
My favorite taping method works to secure the NG tube so the tape lasts longer, and the tube stays put. Try it out and let me know what you think. Spend the time trying to get it right to make it easier for you and your baby. Their cheeks will thank you!


The MOST helpful resource I’ve seen for helping tubie parents! This is so much more effective than the training I received from my hospital for replacing NG dressing.
I’m SO glad to hear it helped you out!
Hi Jessica! We just used this method on our son after weeks of ineffective and irritating taping and it’s fantastic!! We might not even need to put mittens on his hands at night! Thank you so much for the clear and detailed instructions.
Aw, I’m happy to hear this method worked well for your family. I hope your son is doing well.
I am 4 weeks in with an NG tube newborn. There is so much in this post that I didn’t know I didnt know. The training and supports are majorly lacking where I am. This is probably the first time in several weeks I have not felt totally and utterly alone in this journey. I know this post is over a year old now, but I am so greatful to have come across it, thank you for putting your experience out there for desperate mamas to find tips AND connection in this journey.
Hi Lynn, I’m sorry to hear how alone you’ve felt, and I get it. It can be a very isolating experience. Another tubie mom told me at the beginning of our NG journey, “it’s temporary,” and that simple statement gave me a little lift. I’m happy this guide has helped you. Best of luck with your newborn’s feeding journey.